Creating Your Account
Getting started with eqva money is quick and easy.
Your Options
When you first open eqva money, you have two choices:
- Sign up with Google/Apple — Create an account for cloud sync and multi-device access
- Continue without account — Start immediately with everything stored locally on your device
Both options give you full access to the app. The main difference is that accounts enable cloud sync when you upgrade to Pro.
Setting Up Your Profile
- Download the app from the App Store or Google Play
- Open eqva money and complete the onboarding screens
- Choose your path — Sign up or continue without account
- Create your profile by entering your name
- Choose your default currency — this will be your primary currency for tracking
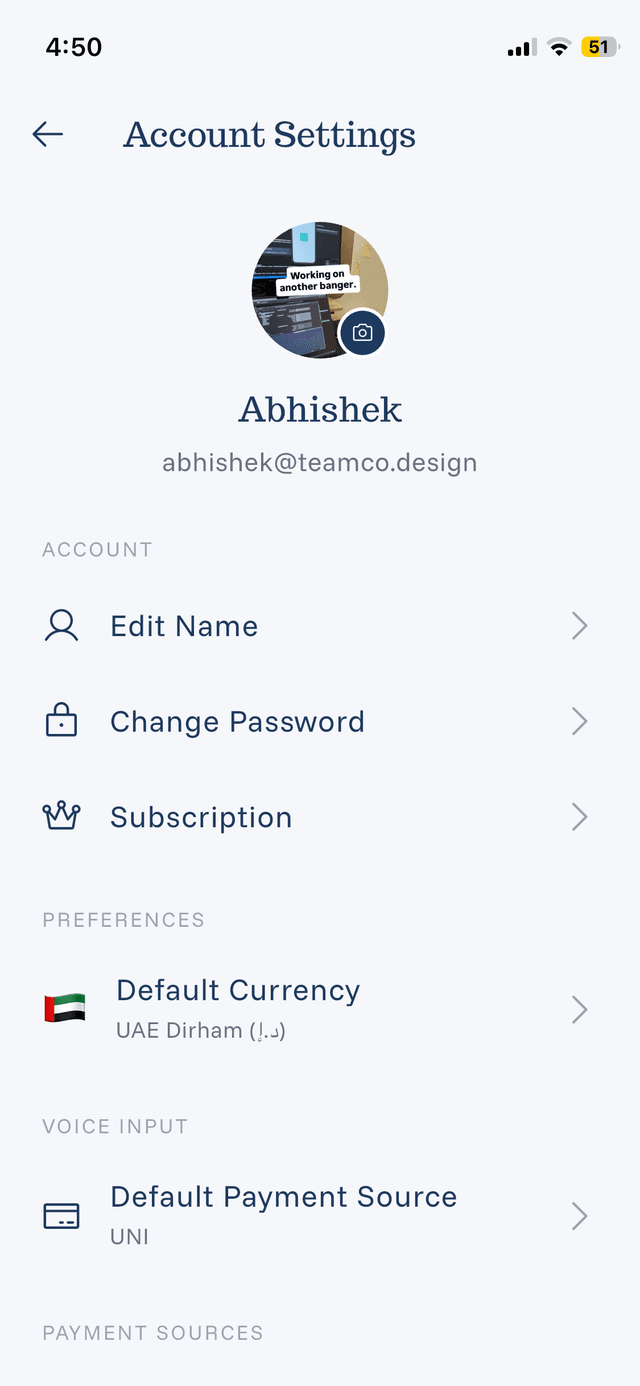
Personalizing Your Account
You can customize your account at any time from the Settings screen:
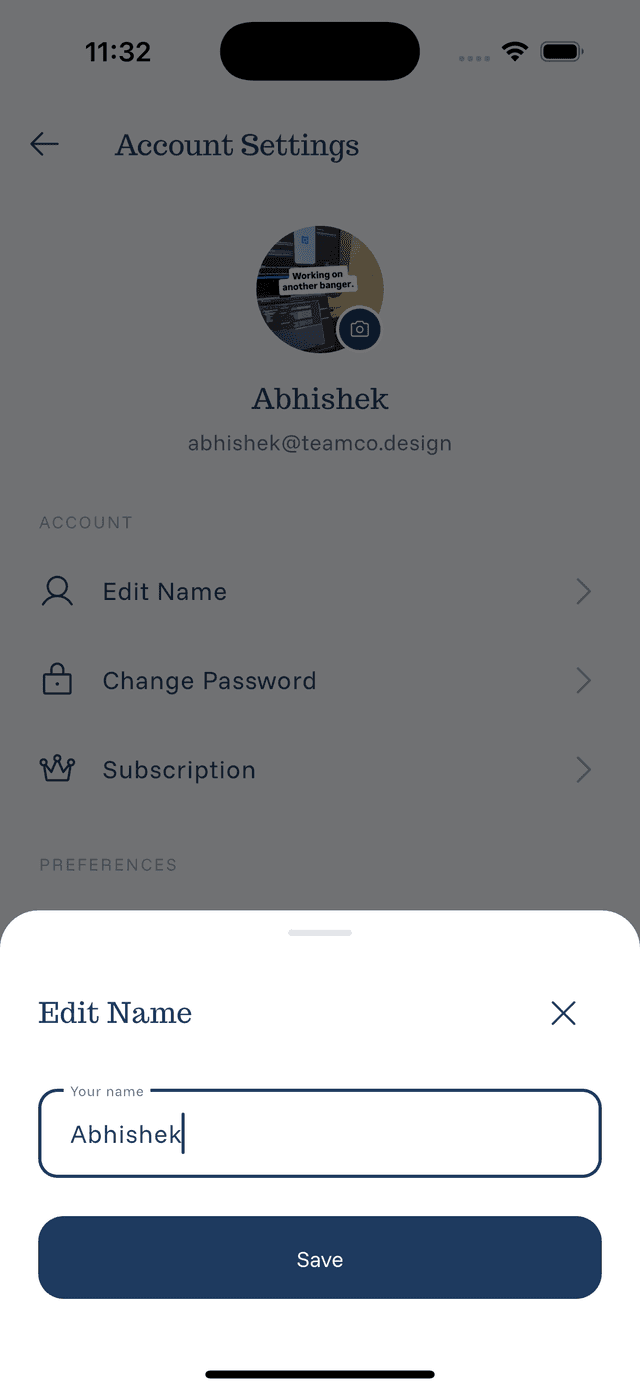
- Edit your name — Tap on your name to change it
- Add a profile picture — Make your account feel more personal
- Update your preferences — Adjust notifications and display settings
Your account is stored locally on your device. If you upgrade to Pro, you can enable cloud sync to access your data across multiple devices.
Migrating from Anonymous to Account
If you started without an account and want to create one later:
- Go to Settings
- Tap Create Account or Sign Up
- You'll be asked: Keep My Data or Start Fresh
- Choose to migrate your existing expenses or begin anew
All your data transfers seamlessly — no re-entry required.